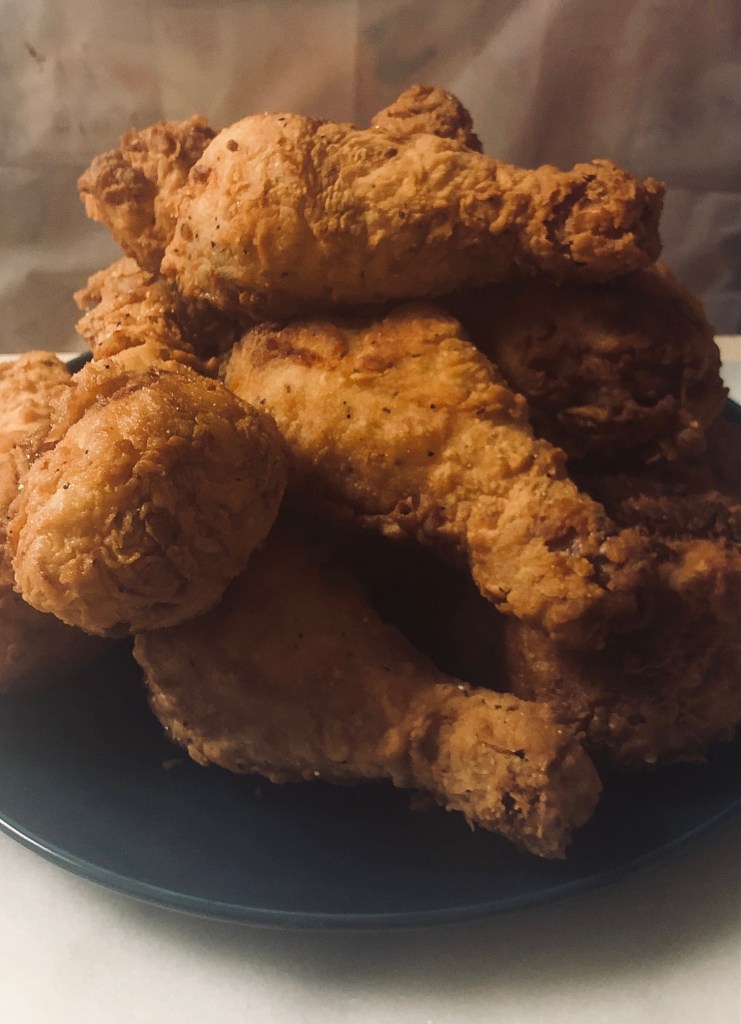
My husband and I lived in Germany for a time, and one of the things he occasionally missed was KFC. So, I set out on a mission to try and re-create this ultra American treat, and it has become one of my biggest successes. This recipe takes a small amount of planning, but is ultimately super easy.
You’ll notice in the following pictures that I fried only chicken legs – my daughter asked for ‘bones’ (3 year old for chicken legs) one night, and I didn’t want to disappoint.

Prep Time: 4-24 hrs
Cook Time: 30-45 mins
Total Time: 4.5 hrs-24 hrs 45 mins
Serves 3-4
- approx. 3 pounds chicken; basically any cut you’d like, bone-in or boneless, skin on or skinned.
Brine/Marinade*
- 2 tablespoons kosher salt
- 1/4 teaspoon garlic powder
- 5 cups chicken stock
*A lot of recipes, especially those claiming a southern background, will have a buttermilk marinade; I find my version offers a succulently juicier chicken, but fear not, I still use buttermilk, just later in the process/recipe
Dredge/ Coating/ Breading
- 1 egg
- 1 cup buttermilk*
- 2 cups flour
- 1/2 cup cornstarch
- 1 tablespoon kosher salt
- 2 teaspoons pepper
- 1 1/2 teaspoons garlic powder
- 1 teaspoon onion powder
- 1 teaspoon paprika
- 1/2 teaspoon mustard powder
- 1/2 teaspoon ginger powder
- 1/4 teaspoon baking powder
*substitute with 1 tablespoon vinegar or lemon juice and 1 cup milk – allow to sit at least 5 minutes to ferment
- 1 quart oil*
*the type of oil is your choice, though vegetable oil is my go to, it has a high smoke point, the flavor is mild and doesn’t detract from the chicken seasoning, and can easily be strained and used next time you want fry something up.
- Prep your chicken: in a large bowl or Tupperware, whisk together your brine ingredients until the salt is dissolved; add your chicken, being sure each piece is fully immersed, cover, and refrigerate for a minimum of 4 hours, preferably 24 (the longer you wait, the juicer and more flavorful your chicken will be), Alternatively, you can place your chicken in a Ziploc bag and add brine, being sure to express excess air, but I find the chicken gets better submersion in a bowl.
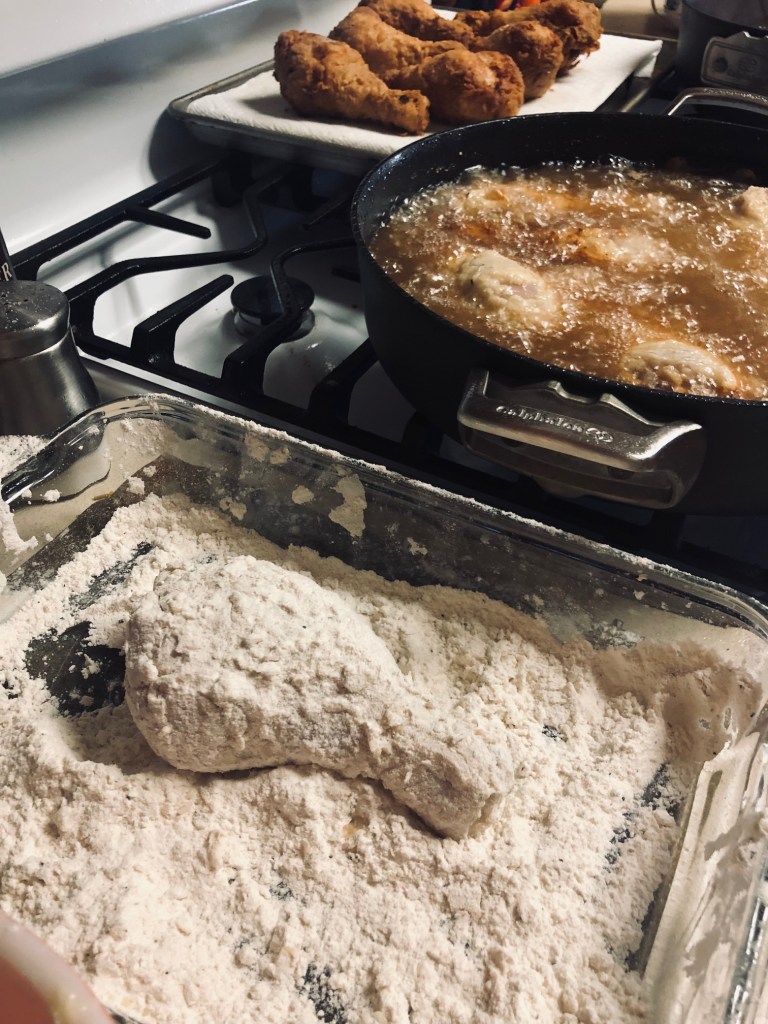
- When ready to fry, place your oil in a cast iron skillet (cast iron holds heat better than other metals, but any skillet will do) over medium high heat until the temperature reaches 350-380 degrees.
- Remove chicken from brine, pat dry, place on plate and set aside. In a bowl, whisk together your buttermilk and egg, set aside. In a shallow casserole or similar dish, whisk together your dry ingredients. Prepare your drip pan (where your cooked fried chicken will go to cool): grab a sheet pan and line the bottom with two layers of paper towels (easier clean up later) and a cooling rack on top. Arrange all ingredients into an assembly line and get ready to fry!
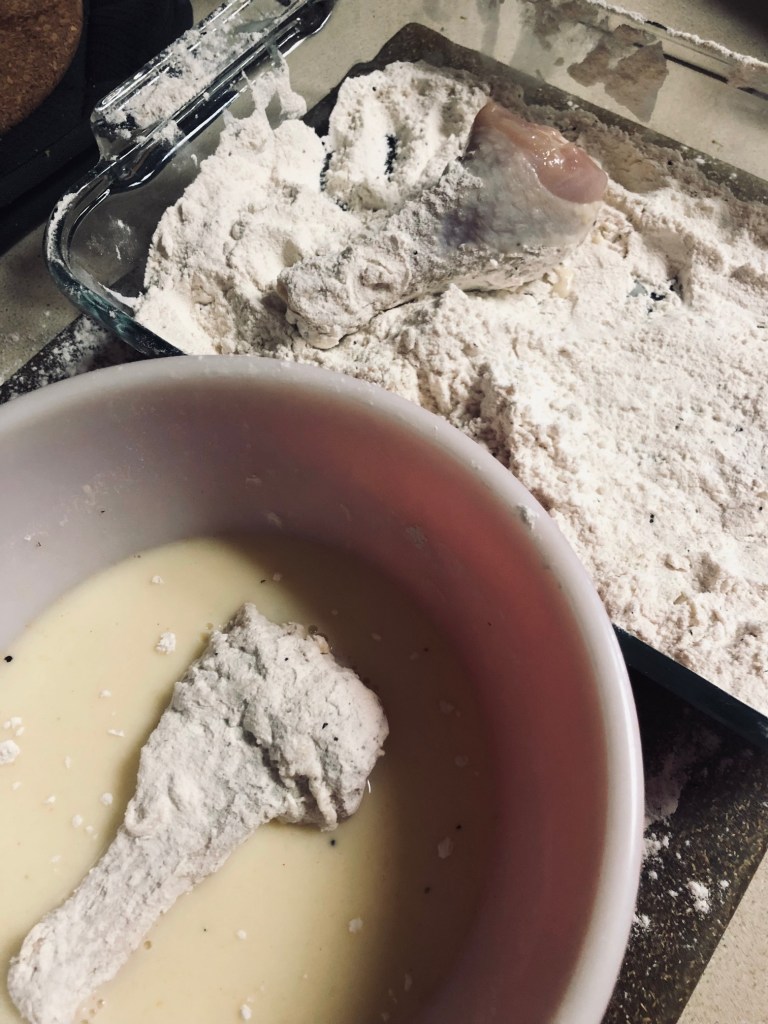
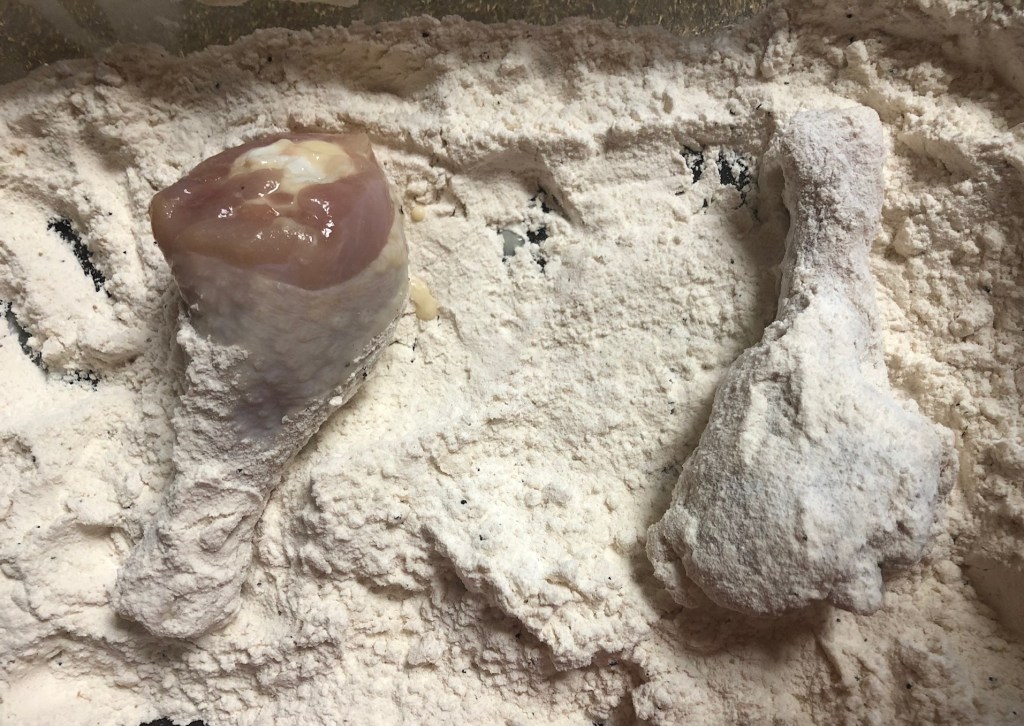
- Grab your first piece of chicken and dunk in the buttermilk mixture, shaking off excess. Place in your flour mixture and fully coat, pressing lightly to ensure adherence. Tap lightly to remove excess flour, then place back in the buttermilk mixture, fully submerging, then coat again in the flour mixture. Place in the oil. Repeat this process with another 3-4 pieces of chicken, what ever amount will fit comfortably in your skillet without crowding. You want to fry your chicken for about 5-8 minutes per side, a total of about 10-16 minutes, or until the internal temperature reaches 160 degrees. Cooking time varies for each different cut of chicken, so be attentive when frying.
- Once chicken is done frying, use tongs to remove from oil and onto your drip pan. Lightly sprinkle with course salt while still hot.
- Frying your first batch of chicken will drop the temperature of your oil, so before frying your next round, bring the temperature back up to 350-380 degrees. While you’re waiting, you can go ahead and coat your next few pieces of chicken and place on a plate until ready to fry.
- Repeat until all chicken has been cooked.
- Any left over flour can be stored in a bag or other container and placed in the freezer until your next fried chicken night. The left over oil can be strained and saved for a later date as well. Depending on how often you fry, you may want to store it in the fridge to help deter a stale taste from forming.
- If you used a cast iron skillet, use a paper towel to wipe out any debris and excess oil – DO NOT use soap to wash or place in dishwasher. You want the oil it soaked up to stay in the metal to keep is hydrated and seasoned.
- If you happen to have leftovers (you shouldn’t), the best way to reheat is in a 350 degree oven for about 15-20 minutes, but it’s important to note that it won’t be as crispy as freshly made; still darn good, though.
